Cheese Cork Labels- for your holiday party needs
 If a follower of my twitter feed or Facebook page, you might already know I was in New York last week. Because, wow, did I talk about it. Let's just say I was almost as excited as a Swiss Alpine cow just let out of the barn in spring after being cooped up all winter (and I don't often compare myself to large farm animals). A couple opportunities to talk about my book in Manhattan arose, and any time I'm provided with an excuse to visit NYC, I latch on to it with all of my being.
Pan to a little book promotion.
I taught a class at Murray's Cheese! First time, a great experience with fantastic people. I visited Betsy and Brian at the Martha Stewart's Sirius radio station (crossing my fingers there's a link out there- it was a little bit of a blur, and I'd like proof that I behaved). Also had a chance to go to a Hurricane Sandy fundraiser at Brooklyn Brewery, walk through the still crisp and unfrozen Central Park, and then eat a little here and there.
Now, I'm back, and ready for... you guessed it. More cheese. And wine. And it just happens to be party season.
When prepping for my book release party back in November (which was sooooo much fun), I knew that I wanted a cute/nifty way to label the cheeses I was serving. My book was a focus of the party, sure, but what would my book be without the cheeses? A book with wine recommendations to __?____ , that's what. The cheeses needed their due respects.
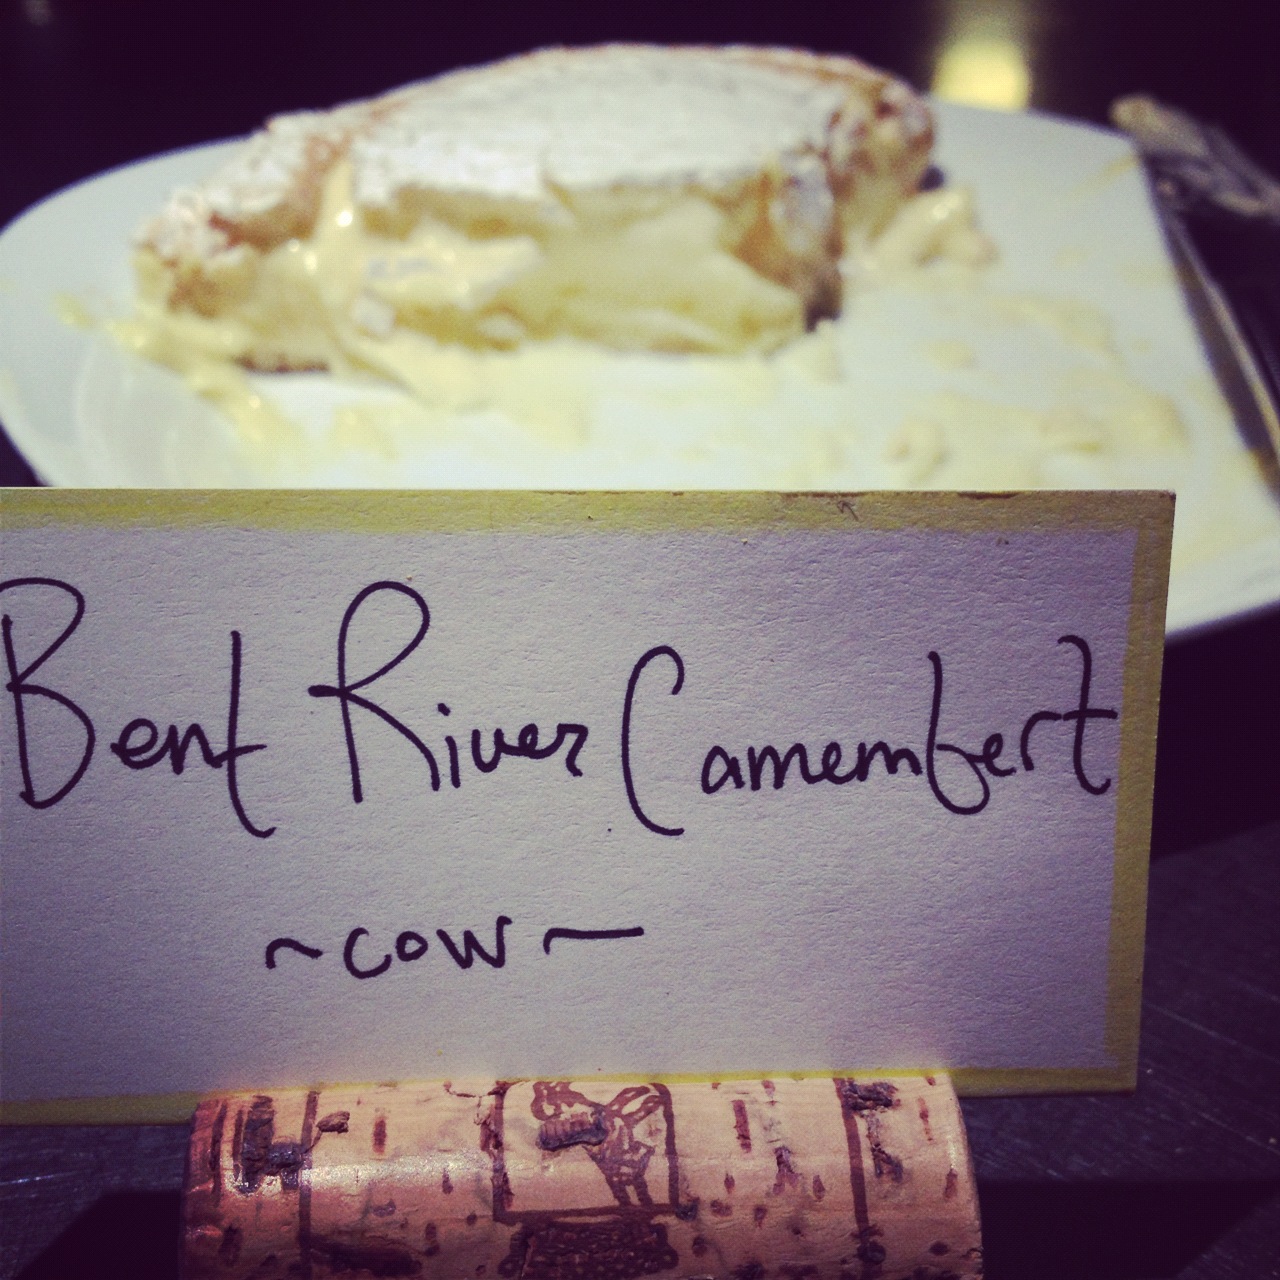
I did a little research, found some cool ideas online, and put some corks to a good use. The cork labels worked smashingly for the large format cheese plates at my party, and I'd highly recommend them for home holiday use too. If you decide to use them at home, consider slicing the corks in half lengthwise if you're serving a smaller cheese plate. That is, if you're really crafty (I'm a whole cork kinda gal- the last time I got crafty before this was with my mom's glue gun and some felt at age twelve). If you do make that extra cut, be careful- use a sharp knife or a piece of equipment that a craftier person would know about.
How to make Wine Cork Cheese Labels.
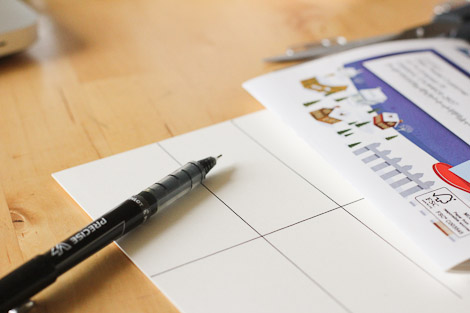
Step 1 (see above photo) Get corks, card stock, something to aid in drawing straight lines, a pen to draw that line, things for coloring, a sharp knife, and paperclips.
Step 2. Take a piece of card stock and use something with a straight edge to mark where you'll cut the labels. I made my labels about two inches long and an inch high. This could be too big for a small cheese plate. If you're only making labels for plates made to serve 3-5 people, it might be wise to make smaller labels. * Note- I used a dark pen to make my lines with the idea that I would write the cheese names on the other side of the card stock, and no one would see the lines. But, it might have been a better idea to use a light pencil (see step 6).**********
Step 3: Cut your lines.
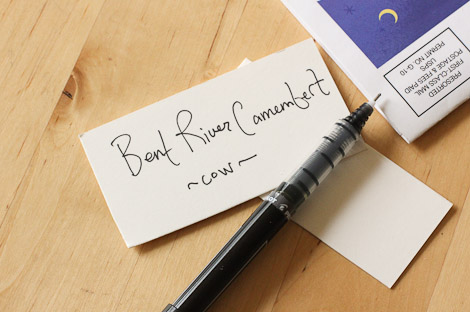
Step 4: Write your cheese names on the side of the labels without pen marks, and any other info you want your guests to know. Because my party was all about American cheese, I didn't write from what country the cheese came, I only chose to write the milk type and name.
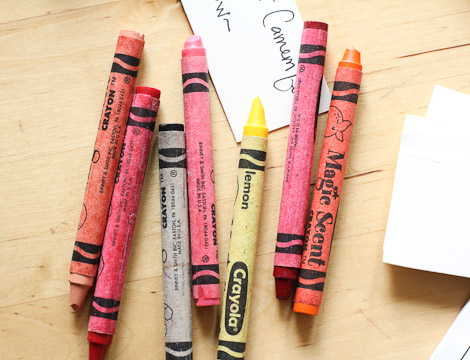
Step 5: Pick your colors. I picked green for my Minnesota cheese. When the inspiration strikes, you just let it ride. You could color according to country, milk type (choosing green for cow, blue for goat, etc).
Step 6: Color the edges of your paper for happy cheese color flourishes. *** See how I colored the outside of every individual label? What might have been smarter would have been to color the lines on the paper before cutting. Instead of using black pen, I could have drawn the lines to cut very lightly with a pencil, then drew over them with the Crayons. That way I could have colored directly over the original card stock once -instead of coloring so many edges of the cut labels.
Step 7: Cut the cork (not coordinated enough to take a pic of this one, guys). Place the cork lengthwise on a table and use a sharp knife to score/cut the cork lengthwise just deep enough to inert the card stock. If you're making these for a very small plate, consider cutting the entire cork in half lengthwise, then flipping it over so it's flat side down on the table, then scoring/cutting it on it's curved side just enough so the card stock will slip in (as a less naturally crafty person, I just went full force, used the whole cork, and would probably do the same again).
Step 8: Make your kickstand. These corks don't stand up on their own. Insert a baby paperclip into the back of the cork to give it some support.
Step 9: Place in front of cheese!
Do you have any labeling techniques for your plates?
Next week: Holiday cheese plate focus.


